
It is Spring, but I know some parts of the Northern Hemisphere are still dealing with snow! Here are a few tips to make shooting outside in snowy conditions as productive as possible:
1- Meter Carefully When Shooting Outside in Snowy Conditions
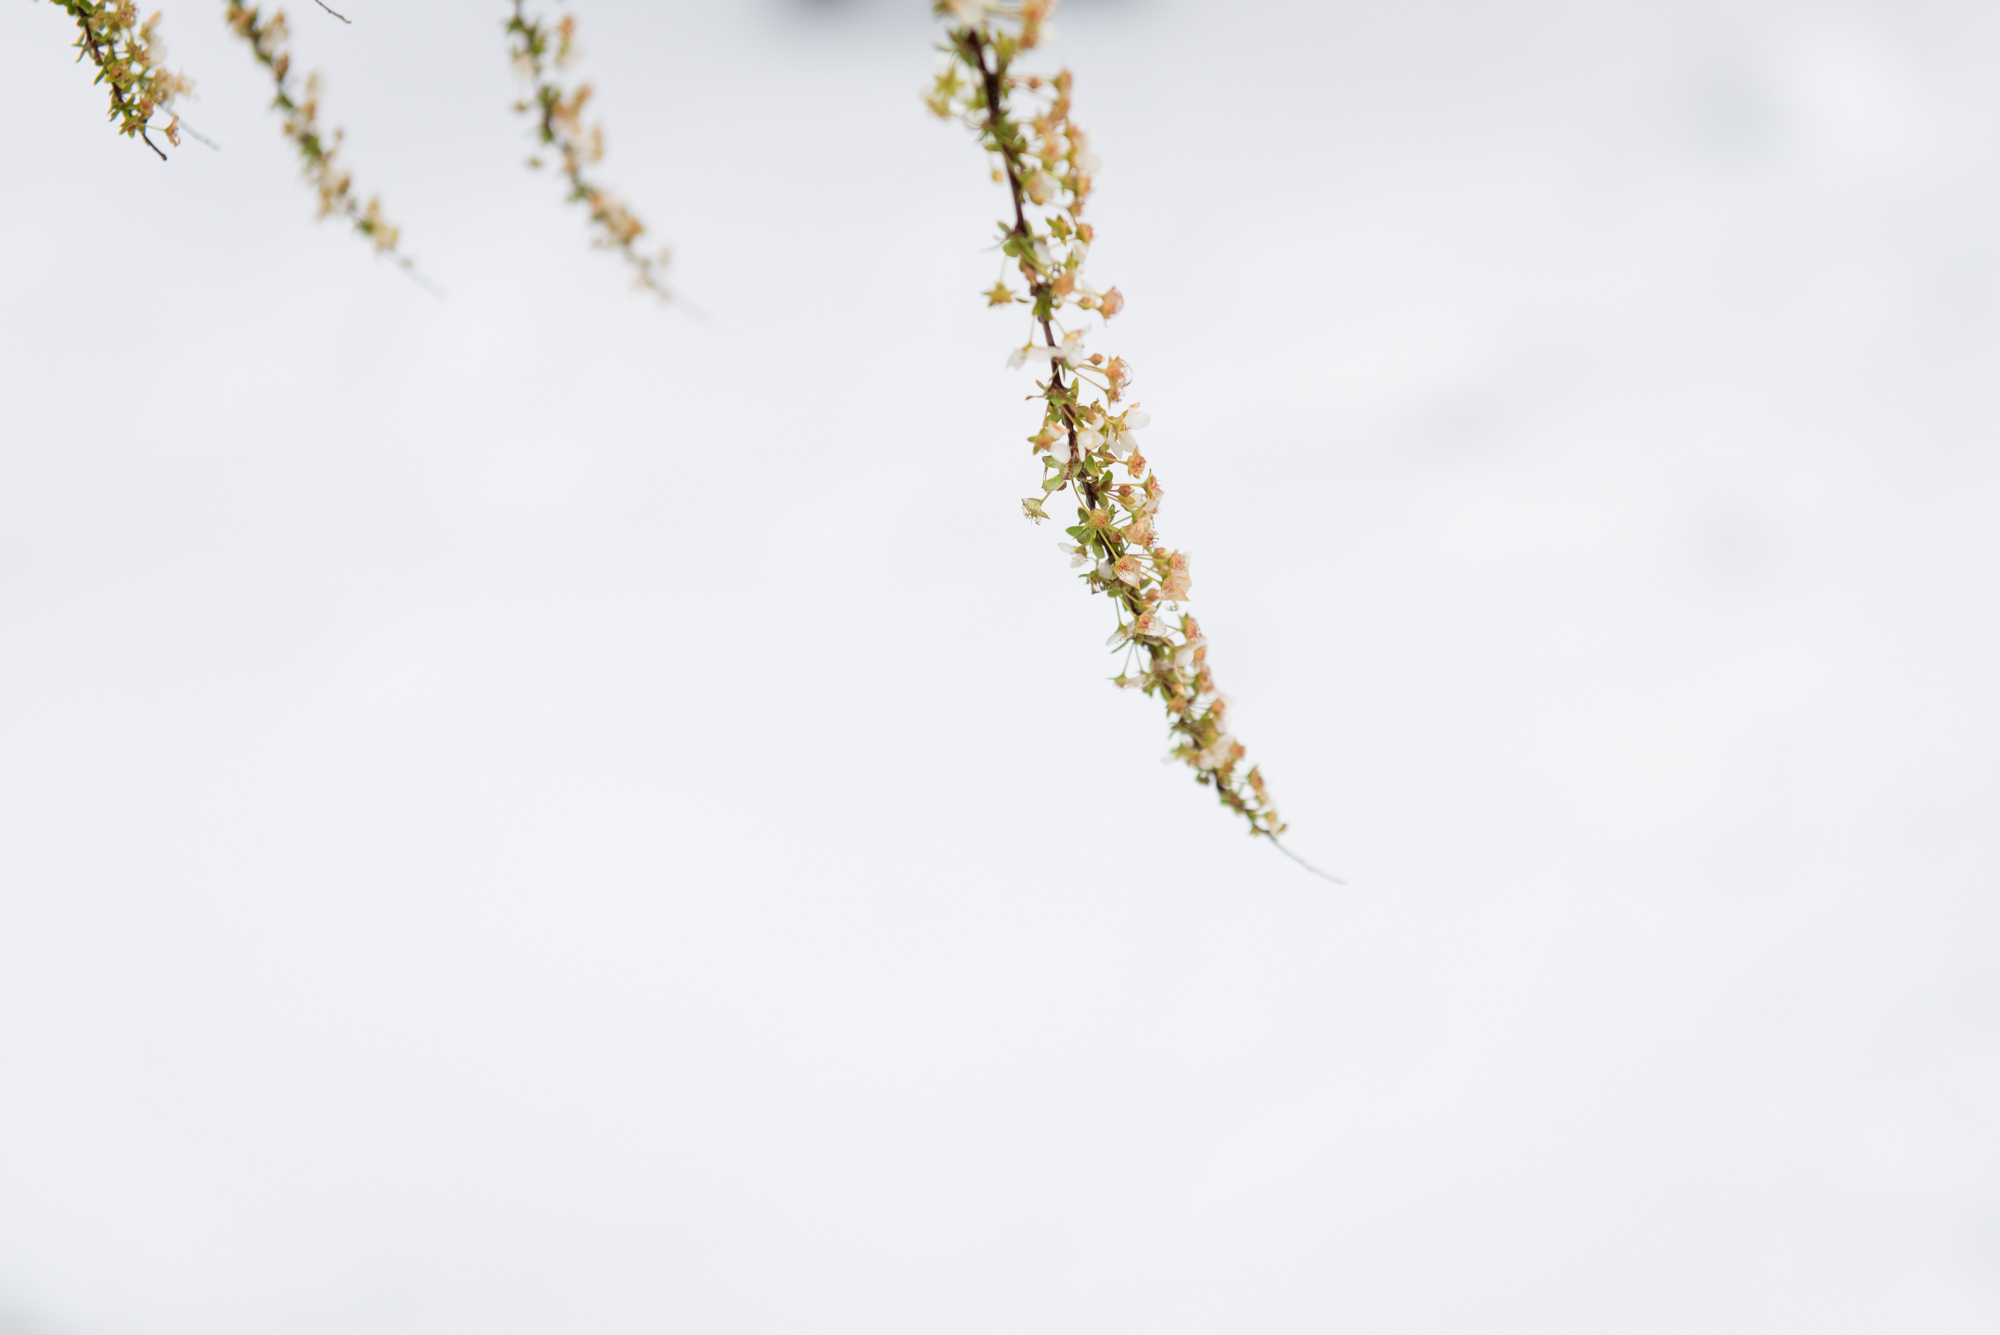
Any scene that includes a large amount of information that has a tonal value near either end of the histogram (true white or true black) requires careful attention to metering. Overexposing in snowy conditions can often result in truly blown pixels, that are completely lacking in tonal information and will not be recoverable in post processing. In contrast, if your scene includes any dark tones (such as important shadowy areas or dark clothing) underexposing can result in unrecoverable loss of data at the shadow end of the histogram.
Best practice is to meter for an area near middle grey (such as medium toned skin, concrete or lighter colored house siding) and overexpose just a touch, perhaps 1/2 stop. This will result in a bright image, but should allow you to protect the brightest tones so that even if they are a little too bright in the SOOC image, you’ll still have data to work with in processing and global or local adjustment will allow you to bring back texture and detail in the overly bright area.
2- White Balance | In Camera or in Post
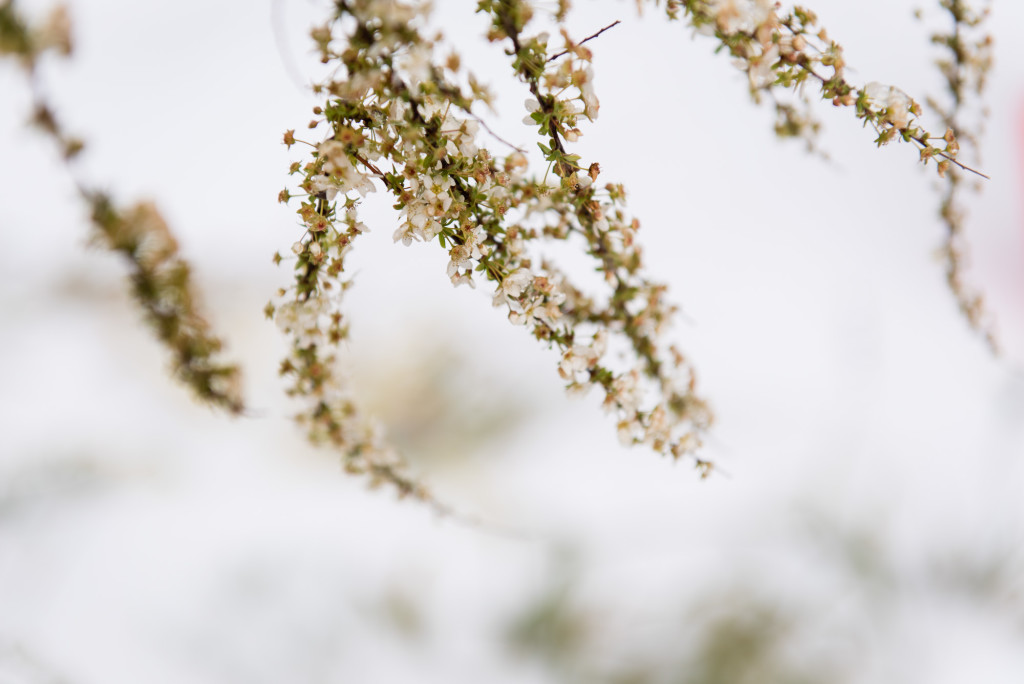
Snow is white. Thus, any toning in the white of your snow imagery will look slightly unrealistic to your viewer’s eye. Ideally, you’ll set an accurate white balance in camera (I use Kelvin settings, but other photographers prefer to Custom White Balance) but sometimes there will be a need to correct in post processing. It could be a result of incorrect white balance in camera, or because of color cast issues. Snow is very prone to picking up casts, as it is white and reflective. Snow under an open sky can look a little blue due to the reflection of the sky, greenery in the area you are photographing can cause green casts, bold colored snow clothing can create local casts next to subjects in your frame, etc.
If the color issue is global you can work with global temperature and tint controls, while local color casts are best resolved with local adjustments. The adjustment tool in Lightroom or using masking in Photoshop are incredibly useful in these circumstance.
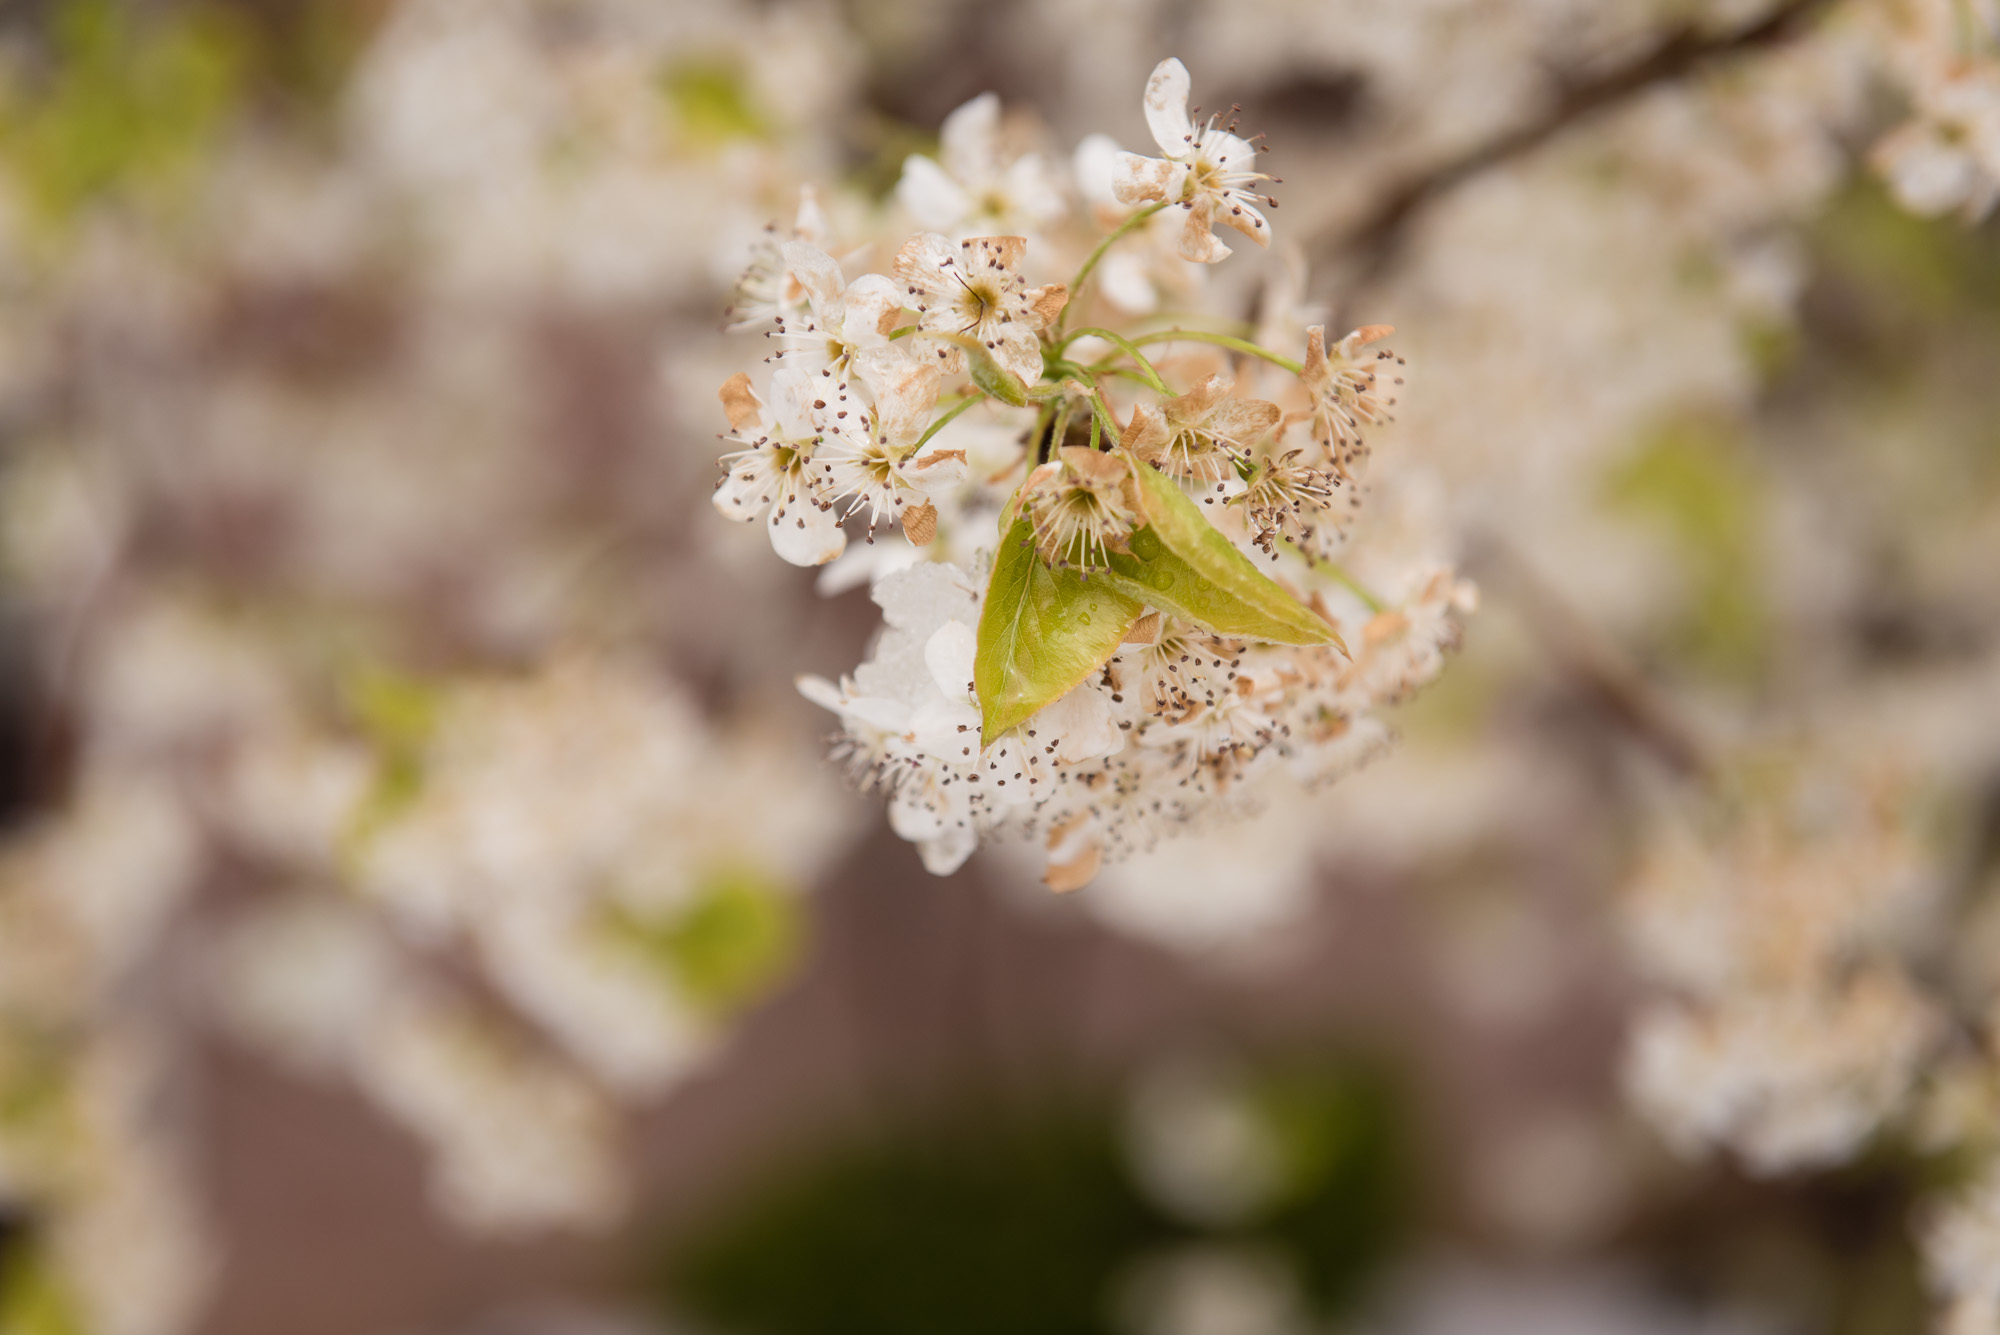

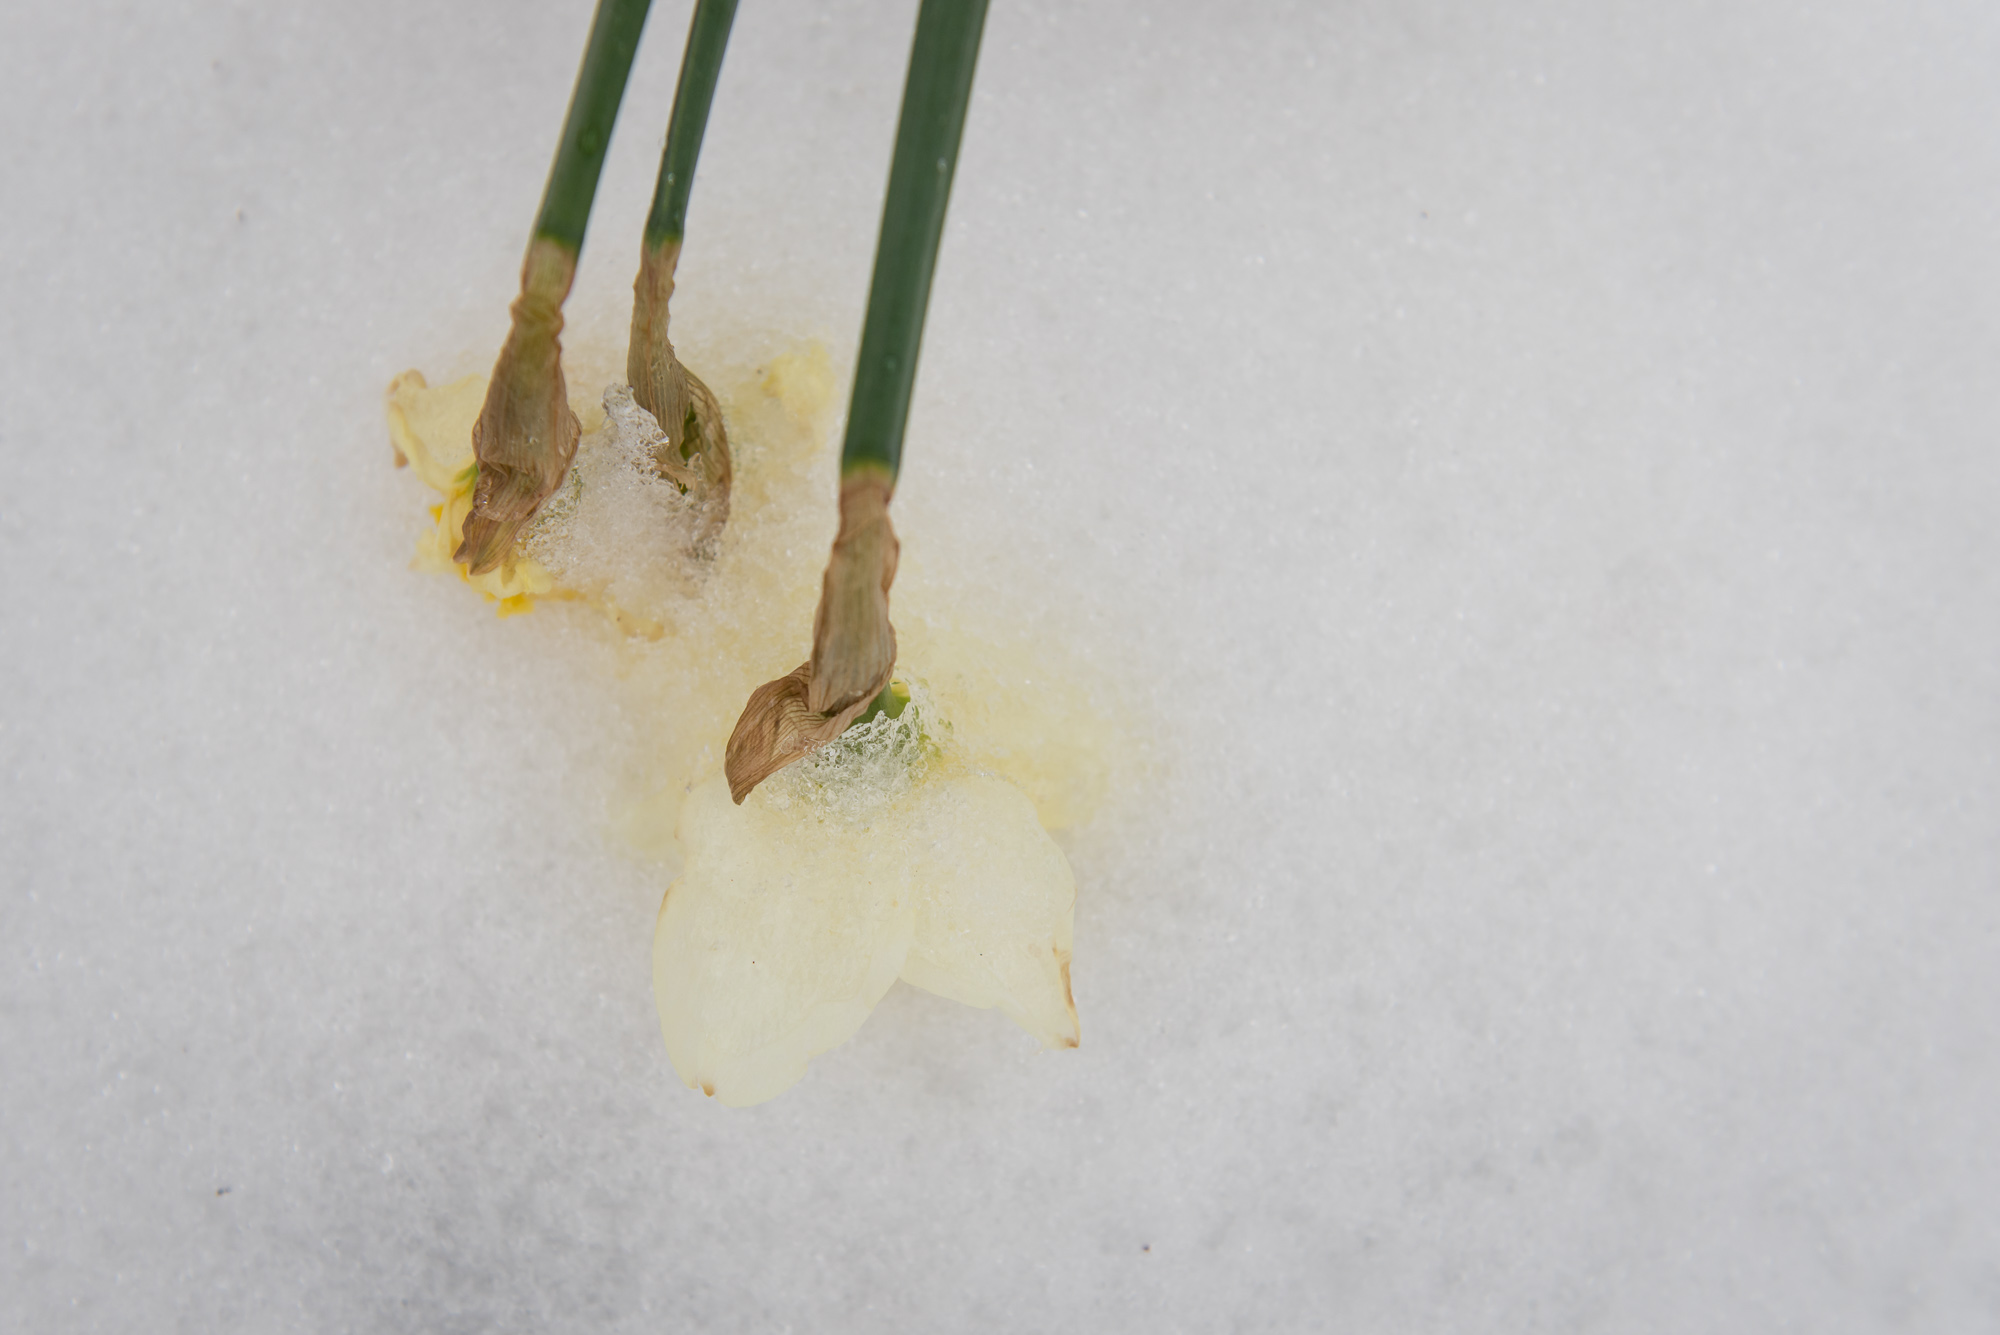
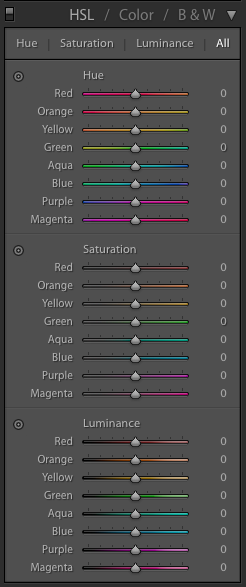
3- Dealing with Early Spring Green Tones
Now that it is officially Spring, the trees, grass and flowers are all starting to green up, even if snow is sticky around. Spring greens can be quite yellow, especially as recorded in digital photographs. My method for dealing with the neon look of the green is to make sure that I don’t overexpose too much (very bright/saturated colors can lose detail if overexposed too much) and then I adjust with the HSL panel in Lightroom during processing. I pull the green Hue slider slightly towards the blue side of the range and away from the yellow (generally +3 to +8 adjustment,) the green Saturation slider down -3 to -8 and I will then play with the yellow and green Luminance sliders as the image requires. This results in a subtle shift of the green tones towards the blue end of the green spectrum and away from the yellow.
Do you have a favorite tip for shooting in the snow, or a question about doing so? Let me know in the comments!
-M
Pin It